Getting Started with WireMock
Recently I was conducting internal training on using WireMock for testing web applications — especially the backend. Here I would like to share how to start WireMock and use it in your tests.
What is WireMock?
WireMock is a flexible and powerful API mocking tool that allows developers and testers to simulate HTTP-based APIs. It provides a simple and intuitive interface for creating mock APIs, making it easier to test applications that depend on external services. With WireMock, you can create mock responses, simulate various scenarios, and validate the behaviour of your application under different conditions.
When to use WireMock?
WireMock was designed to allow testing of web applications by mocking different responses from external APIs they use. It allows me to test more scenarios than would be possible using a production external API.
In my daily work I usually test asynchronous APIs. In these scenarios, WireMock acts as an HTTP server where my system under test sends callbacks and notifications.
WireMock helps me solve several problems encountered when testing web applications that depend on external APIs:
- the external API is unstable, making test results unpredictable;
- the API has low rate limits that are not sufficient for all required tests;
- the API does not exist yet and all we know is the API specification.
To be absolutely sure the application under test works correctly, I also need to perform some end-to-end testing with a real API, because mocks might not match the external API exactly.
Running WireMock
Necessary dependencies
To use WireMock in tests, add the following dependency to your Maven project:
<dependency>
    <groupId>org.wiremock</groupId>
    <artifactId>wiremock</artifactId>
    <version>3.13.2</version>
    <scope>test</scope>
</dependency>
or for SBT:
libraryDependencies += "org.wiremock" % "wiremock" % "3.13.2" % Test
A WireMock instance can be run in several modes — managed by the test framework, started directly from code, or run in standalone mode.
WireMock instance managed by the test framework
Let’s start with the easiest way to get WireMock running.
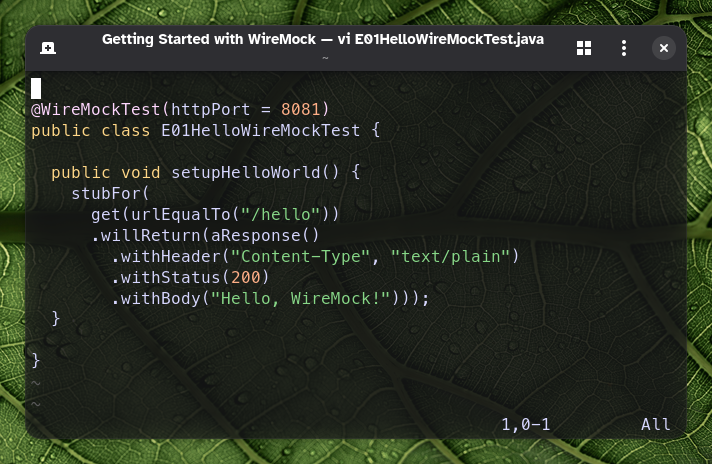
JUnit can manage a WireMock instance. I will use the JUnit 5 WireMock extension that provides the @WireMockTest annotation:
@WireMockTest
public class HelloWireMockTest {

  @Test
  void hello_stub_test() {
    // Let's create a first stub
    stubFor(get("/hello").willReturn(ok()));

    // And test if the stub works using RestAssured
    given().baseUri("http://localhost:8080")
      .when().get("/hello")
      .then().assertThat().statusCode(200);
  }

}
For this test scenario, the test framework will start the WireMock instance and I don’t need to worry about creating one in the test or connecting to the standalone one.
By default, the WireMock extension starts a WireMock instance on port 8080. You can change it by specifying the httpPort parameter on the annotation, i.e.
@WireMockTest(httpPort = 9999)
public class HelloWireMockTest {}
If you are still using JUnit 4, see how to do the same for that version of the test framework: WireMock Docs » JUnit 4 and Vintage.
Starting instance programmatically
If my test framework is not JUnit but is JVM-based, I can start a WireMock instance programmatically:
public class ExamplePlainJavaTest {

  private static WireMockServer server;

  @BeforeAll
  public static void setup() {
    // Start WireMock instance
    server = new WireMockServer(options().port(9999));
    server.start();
    // Configure WireMock client to use port 9999
    WireMock.configureFor(9999);
  }

  @AfterAll
  public static void teardown() {
    server.stop();
  }

  @Test
  public void wiremock_example() {
    stubFor(get("/hello").willReturn(ok()));
  }

}
In the setup() method I am starting a WireMock instance on port 9999. Then I need to configure the WireMock client to the proper port to be able to use the API the same way as in the previous example.
After the tests are finished, I need to remember to stop the WireMock instance in the teardown() method.
WireMock standalone instance
Usually for my testing I use WireMock in standalone mode with a Docker container.
To start a Docker image use the following command:
docker run -it --rm \
       -p 8080:8080 \
       --name wiremock \
       wiremock/wiremock:3.13.2
Alternatively, you can download the JAR file using the link provided in WireMock Docs » Direct Download and start it with:
java -jar wiremock-standalone-3.13.2.jar
In this case you can use the WireMock API directly without any prior configuration, as the default 8080 port is used.
In both cases, it is worth adding the --verbose option to the command to be able to inspect the requests and responses that WireMock handles during the test.
Summary
WireMock is a practical tool for simulating external HTTP APIs, especially when the real service is unstable, rate-limited, or not yet available. This article showed how to add WireMock as a test dependency, run it under JUnit 5, start it programmatically from JVM code, and use it as a standalone service in Docker or via the JAR.
In the next articles I will show how to construct more robust stubs, test error scenarios and use more advanced features of WireMock.